As a car enthusiast, there’s nothing quite like the thrill of hitting the open road. But to ensure a safe and enjoyable ride, it’s crucial to have a good grasp of your vehicle’s maintenance, especially when it comes to the braking system. Even for beginners, understanding and addressing brake noise issues can make a significant difference in the performance and safety of your car.
Different Brake Noises: Decoding the Signs
Before we delve into the solutions, let’s explore the different types of brake noises and what they might indicate. Recognizing these sounds can help you assess the severity of the problem.
Brake Grinding: A Serious Concern
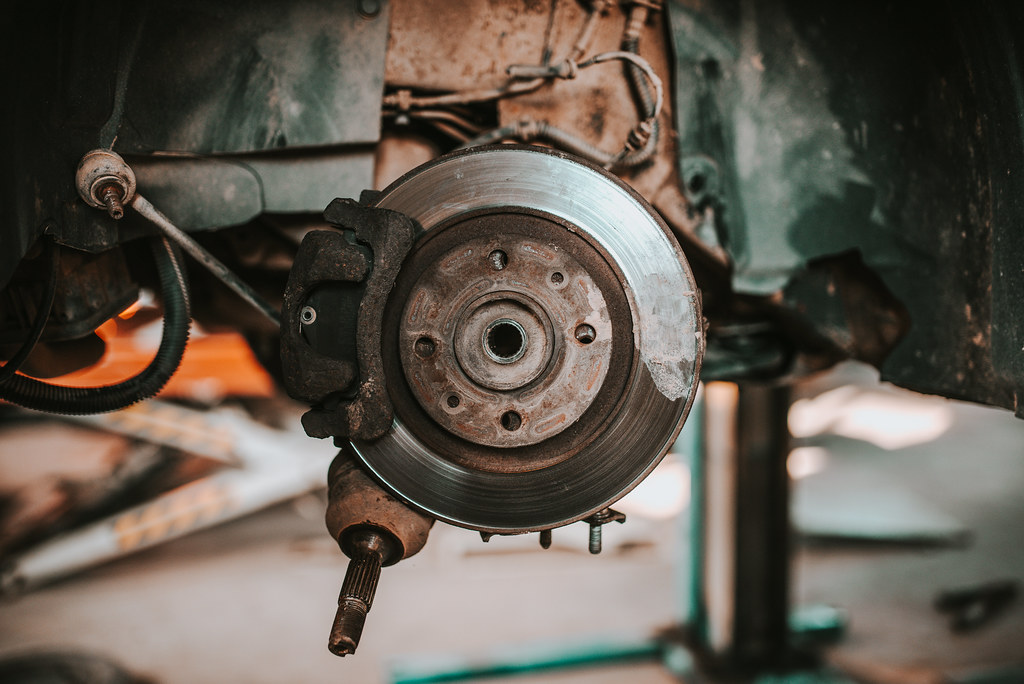
When you hear a grinding noise while braking slowly, it’s a definite red flag. This sound signifies that your brake pads have worn down completely, and only the rotor and caliper are left. If you neglect this issue, it could lead to costly repairs down the road. As soon as you notice grinding, head straight to a service center for immediate assistance.
Squealing and Squeaking: Unwanted Companions
Squealing and squeaking sounds during slow braking are often linked to specific causes. Squealing might result from parking your car in wet areas, leading to rust on metal surfaces. Over time, this noise might fade as rust wears away. Squeaking, on the other hand, is frequently caused by low-quality brake pads. Upgrading to high-quality brake pads can resolve this issue and prevent rotor damage.
Diagnosing Brake Noise Issues: Your DIY Guide
Diagnosing brake noise problems on your own can save you time and money. Here’s a step-by-step guide to help you get started.
Step 1: Check for Loose Parts
Begin by inspecting your car’s front wheels. Give the rotor, pads, and calipers a gentle shake—none of these components should move by hand. Vibrations indicate loose, damaged, or missing bolts and clips. Promptly address these issues to prevent further noise and vibrations.
Step 2: Apply Dampening Paste
Excessive vibrations from brake parts can lead to annoying noises. After fixing any loose components, apply dampening paste to the metal part of the brake pad, between the caliper piston and the pad. Let the paste dry for 2 to 3 hours before reassembling the brake unit for optimal noise reduction.
Step 3: Inspect Brake Pads
Check your brake pads for signs of wear or unevenness. Some brake pads have wear indicators that signal when replacement is necessary. If your pads show uneven wear, gently smooth the edges to increase their lifespan and eliminate noise. If replacement is required, ensure you choose the correct pads for your vehicle.
Step 4: Examine the Brake Rotor
During brake pad replacement, your rotors might be affected. An uneven rotor surface can lead to pad wobbling. Smooth rotor surfaces are crucial for safe braking. Consider machining the rotors if they’re minimally worn, but replace severely worn or distorted rotors.
Step 5: Additional Checks
Inspect brake lines and fluid after maintenance. Ensure the fluid is at the correct level and clear in color. Any leaks require immediate attention.
Repair Costs: Professional vs. DIY
If brake noise becomes unbearable or affects performance, consider repairs. Replacement costs range from $150 to $300 per axle, but quality brake pads can influence the price. While DIY repairs are possible, it’s vital to ensure proper positioning of components to prevent issues.
Brake Maintenance: Your Key to Safety
Regular maintenance is essential for a smoothly functioning vehicle. Follow these steps to keep your brakes in top shape:
- Check brake fluid levels every three months.
- Replace brake discs based on your driving style.
- Have rotors and brake pads inspected by a professional.
- Replace faulty or worn-out brake pads promptly.
By understanding brake noise when braking slowly and following these maintenance steps, even beginners can ensure a safe and enjoyable driving experience. Remember, maintaining your vehicle’s braking system is a proactive step toward saving money and ensuring your safety on the road.

