The oil drain plug is the one bolt you’ll need to remove when you want to change your car’s engine oil. But it can become stripped over time, which makes it quite stubborn and difficult to remove. This is actually quite a common issue for a lot of people.
We’re going to discuss everything about it in this post, as well as some DIY tips for an engine oil change to make your life easier:
What And Where?
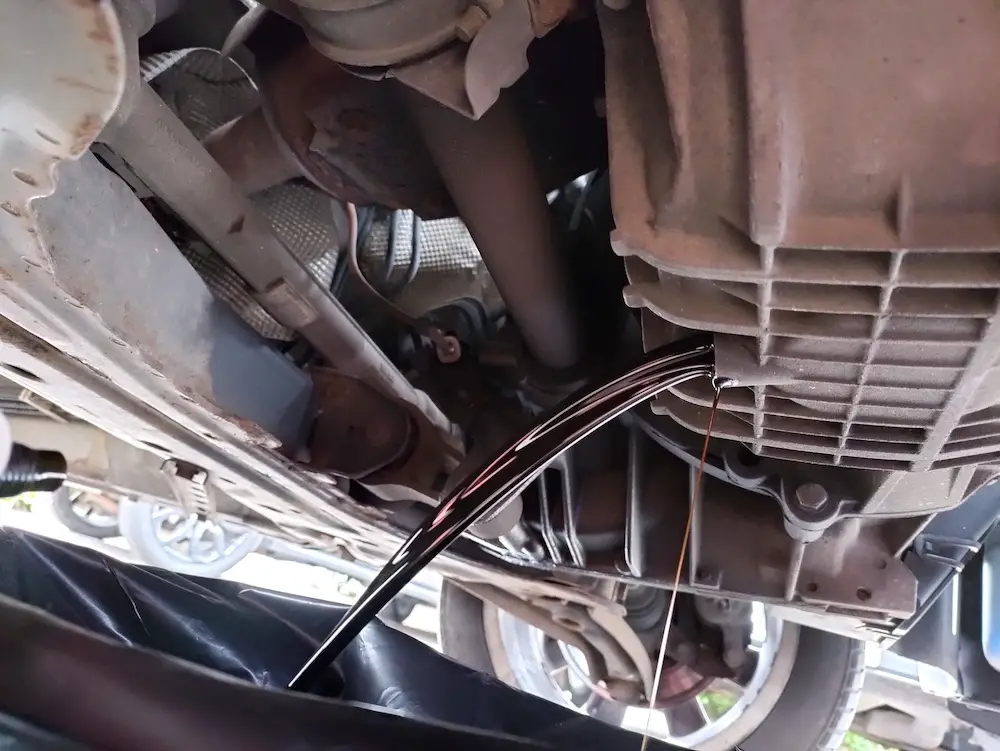
As the name suggests, the oil drain plug is a bolt that plugs your engine oil and prevents it from escaping. When your engine is off, the oil sits below the engine at the engine sump—also known as the oil pan or reservoir.
Since you need to change it from time to time, a drainage hole needs to be at the sump so that you can remove the old oil before refilling it with a new one. This drainage is plugged with a simple bolt and a gasket to seal the oil and prevents it from escaping. It’s really quite simple but a crucial piece, just like how an oil change is so simple but still very important.
If you’re curious, you can watch the video above from Castrol to learn how engine oil works. The animation also shows how the oil travels from the sump and circulates through the engine.
If you need to locate the oil drain plug, it’s right underneath your car just slightly behind the front bumper. You should see the underside of the oil sump, which is either an aluminum or steel pan.
Oil Drain Plug Size
Oil drain plug size may differ from one car to another, and there are four common sizes:
- 1/4 inch – 7 mm socket size.
- 3/8 inch – 9 to 10mm socket size.
- 1/2 inch – 19mm socket size.
- 3/4 inch – 19 to 20mm socket size.
There are other sizes as well but those four are the most common. And we’ve included the socket size to fit them. Additionally, the bolt head comes in several shapes, but six points (hexagon) are usually the most common.
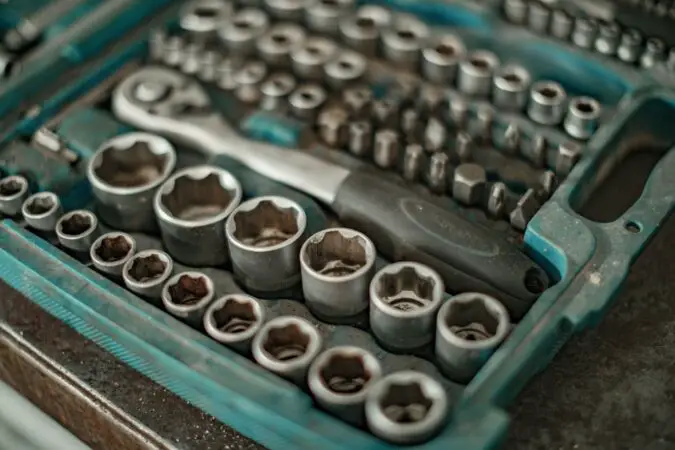
As long as you have a complete set of hand tools at home, or at least, have access to one, you needn’t worry about taking the plug out. If you need to replace your plug, we recommend checking the service manual so you can find the correct size and part.
A socket size chart might be helpful, and you can read one from ElectronicsHub here. Now, here are some more things you should know about your car’s oil drain plug:
Oil Drain Plug Gasket
In addition to the bolt itself, oil drain plugs come with a gasket as well. Sometimes referred to as a washer. This gasket helps to prevent oil leaks. And what you should know is that most cars use a single-use gasket.
This means that every time you open the drain plug, you’ll need to use a new gasket when you screw it back in. Otherwise, it won’t seal properly. Be sure to use the right gasket for your car’s make and model, as they can vary in size.
Oil Drain Plug Torque
One thing that you may not know about the oil drain plug is that it has a torque specification. This means you can’t just tighten it as you like. Instead, you need a torque wrench so that you screw it in with the right torque specification. Some bolts need this when it’s critical to achieve a certain maximum clamp force.
In this case, this torque specification helps to seal the engine oil properly. We won’t bore you with the details, but it’s important that you know this. The torque specification may vary depending on the car’s make and model, but it’s usually between 20 and 25 foot-pounds of torque. Check your service manual if you want to be sure.
Not following the torque specification can cause you problems in the future. If you don’t tighten it enough, the plug won’t seal correctly and will cause an oil leak from the sump. On the other hand, if you overtighten it, you could strip the threads and it will be difficult to remove it. Let alone reinstall again.
Additionally, overtightening and stripping the threads can create a gap, resulting in oil leaks. Needless to say, oil leaks can lead to serious engine problems if ignored. Anyway, this segues us nicely to our next section:
Stripped Oil Drain Plug
Stripped oil drain plug can refer to either the threads or the bolt head that have been damaged and stripped. A stripped bolt head is often referred to as a “rounded bolt head.”
If the head is damaged, then it’s likely whoever tightened the bolt the last time was a little inconsiderate with the bolt. Kind of like how my ex was towards me. But let’s not go down that rabbit hole. This means the supposed appropriate socket can’t grip the bolt head properly, hence why it’s difficult to remove.
On the other hand, a stripped thread can occur because of cross-threading and/or overtightening. Cross-threading is when you don’t insert the bolt correctly and it didn’t sit onto the spacing of threads on the pan as it should.
Exerting more force than necessary can also damage the threads just like cross-threading. And it’s not just torque-specified bolts, you should always be careful not to overtighten bolts and screws on whatever you’re working on. I learned that the hard way with my old laptop.
Anyway, when the thread is stripped, it won’t grip correctly with the thread of the oil pan drain hole. The bolt will simply rotate in its place, or won’t rotate at all when you try to unscrew it. Either way, it’s going to be very hard to remove and makes for a less-than-pleasant day.
Preparation
We should note a couple of things before the removal process. First, a stripped plug means you won’t be able to reuse it. So, you should order a replacement before you start the job. Otherwise, you can’t plug the car and it’s going to have to sit until the new part arrives.
Secondly, the drain hole’s thread may be stripped as well. In this case, you won’t be able to screw in the new plug properly and you’ll need to rethread the drain hole. This will require a special tool, but we’ll get into that later.
Removing Drain Plug With Stripped Threads
Now there are two possible scenarios here: either the bolt won’t rotate and break loose, or it’s rotating in place and won’t come out. If it’s the former, then it’s a matter of exerting as much force as possible. The threads are already damaged anyway, so it doesn’t matter if we’re being a bit rough on it. There are a couple of common methods:
- Use a long breaker bar. A breaker bar increases the amount of force you exert onto the bolt, helping to unscrew it.
- Use a ratchet, and let it hang from the bolt. Then place a car jack underneath the wrench, and jack up the ratchet. The jack exerts a lot of force which could be enough to unscrew the bolt.
The most popular method is to use a car jack to help exert more force on the socket wrench. The video above will give you a good idea of how to do it. Make sure that you’re rotating the bolt counter-clockwise. Otherwise, you’re just making it worse.
Meanwhile, if the bolt is spinning in place and won’t come out, here’s what you can do:
- Wedge a flathead screwdriver between the plug and the drain hole to pry it out.
- Grab the bolt head with vice grip pliers to grip it and pull it out.
- Use a bolt extractor socket.
Removing Drain Plug With Stripped Bolt Head
Meanwhile, if you have a stripped bolt head or rounded-off head as it’s more commonly referred to, you’ll need a flathead screwdriver and a round-jaw vice grip plier:
- Place the vice grip plier around the stripped drain plug. A round-jaw plier is ideal for this since it can grip onto the bolt head more securely.
- Turn the pliers counterclockwise to loosen the plug. If it won’t move, tap the plier with a hammer. Be careful not to damage the bolt head any further.
- When it starts to loosen, wedge the flathead screwdriver between the plug and the oil pan. This will help you to pry it out if necessary.
- If all else fails, use a bolt extractor socket.
The video above shows how to use both pliers and a bolt extractor socket to remove the bolt. Don’t be afraid to use a bit of force to remove them. The bolt is damaged anyway and you won’t be able to reuse it, so might as well go nuts.
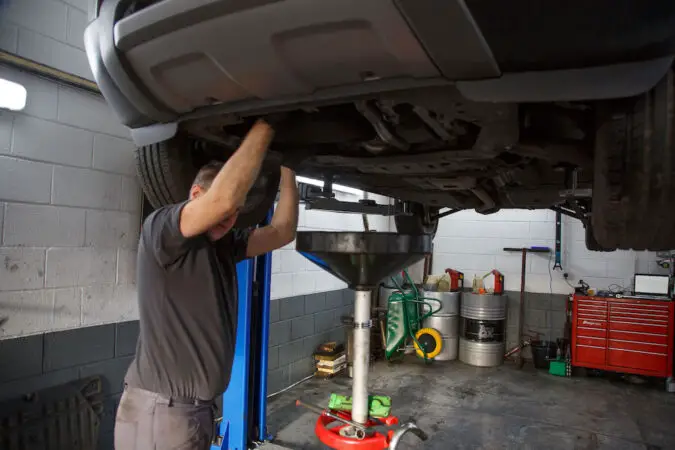
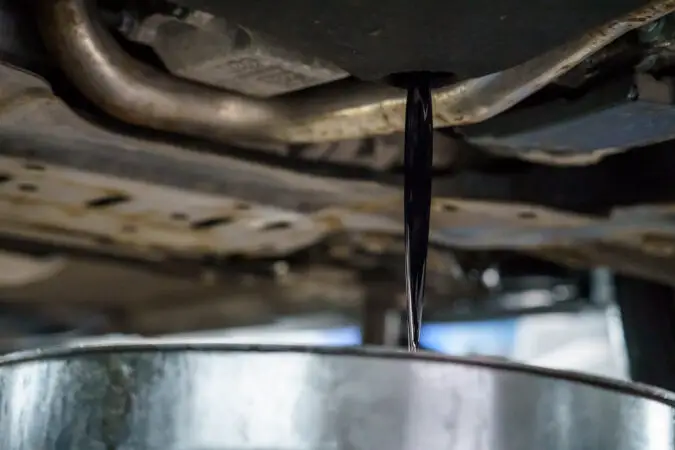
One last thing, remember to have a pan ready. Oil will come out as soon as you have the bolt out, and have the pan ready to catch the oil. Otherwise, you’re going to spend the rest of the day cleaning oil from your driveway or garage.
Repairs & Costs
As mentioned, the threads of the drain hole may be damaged and stripped as well. If this is the case, you’ll need to repair it before you can install the new drain plug.
You can have a mechanic or a repair shop do it for you. Rethreading the drain hole costs between $100 and $350 on average, but it may be more. But you can do it yourself if you like by using an oil drain plug repair kit:
Rethreading The Oil Pan
There are various tools you can use to rethread the drain hole, but it’s preferable to use an oil drain plug repair kit such as the ones from Lisle. However, the basic steps are similar: resurface the thread, and rethread it. Here’s how to do it:
- Get the car straight and level, and remove any obstructions. The car must be straight and level. Otherwise, the new threads will be at an angle and they won’t fit properly.
- Afterward, you’re going to use a reaming bit to remove the pre-existing thread. Resulting in a new smooth surface for you to rethread.
- Thread a specially-sized tap into the drain hole. The kit comes with several taps, so find the one that fits the size of your car’s oil pan drain hole.
- Rotate the tap clockwise. Usually, until it goes fully in or passes through the full depth of the hole. And then rotate it in the opposite direction to pull it out.
- Inspect the new thread. If it seems good, try fitting your new oil drain plug.
The video above shows the process of how to rethread a stripped aluminum oil pan. We should note that a lot can go wrong in this process. And you only have one chance at rethreading it.
So, if you don’t get it right the first time, you’re unlikely to be able to rethread it. If you’re not entirely sure about your skills, best leave it to the professionals. And if you can’t rethread it, there’s only one thing left to do…
Oil Pan Replacement Cost
The worst-case scenario here is that you can’t rethread it and have to replace the engine oil pan altogether. This will cost between $600 and $750 for most cars, including labor.
The oil pan itself usually tops out at about $410, and the rest is the labor cost. The labor itself is quite expensive because there’s a lot that goes into replacing the oil pan. The process entails draining the engine oil, removing the oil pan, then cleaning the contact surfaces.
Afterward, the mechanic will need to install the oil pan gasket first, before fitting the new oil pan in place. After bolting everything together, the mechanic will then refill the engine oil and check for leaks.
It’s not particularly difficult, and it doesn’t require any special tools. But we still don’t recommend doing it yourself as it’s easy to get it wrong. Unless of course, you know what you’re doing. Otherwise, best leave it to the professionals, and it’ll usually take a skilled mechanic around 2 – 3 hours to finish this job.
Engine Oil Change DIY Tips
Here are some engine oil DIY tips to make sure your oil change goes smoothly:
- Prepare everything you need before starting. This includes wrenches, the new oil, and the drain pan. Also, check if you need a new drain plug gasket as some cars have a single-use gasket. Reusing the gasket can cause leaks.
- Check how much engine oil your car needs. Overfilling it can cause problems.
- Warm up the car before an oil change. Turning it on for five minutes is good, or wait for about 10 – 20 minutes if you’ve been driving the car. This ensures that all of the oil will flow out.
- Once you remove the oil drain plug—if it’s in good condition—store it in a safe place so you don’t damage it, don’t just leave it in the drain pan.
- Consider the oil filter. This is just as important as the oil itself, as it helps to keep dust and metal particles away from the engine. An oil filter usually needs to be changed at every other oil change. Read our guide to oil filter change to learn more.
- Check your oil viscosity. There are various viscosity (thickness) ratings for engine oil, and your engine is designed to work with a certain viscosity. Using the wrong one will damage your engine, learn more here.
- And finally, do not overtighten your oil drain plug. We cannot stress this enough: tighten it to the correct torque spec. This will save you from a lot of trouble in the future.
If you ever need a guide on how to do car maintenance and repairs, turn to ChrisFix. His videos are clear, concise, and helpful. And we also recommend reading our guide to other basic car maintenance here.
Oil Drain Plug FAQ
Still, got questions about the oil drain plug? Here are some answers you might find helpful:
How To Remove Stripped Oil Drain Plug
Stripped drain plug can refer to a stripped thread or stripped bolt head (rounded-off bolt head). In the case of a stripped thread, try using a breaker bar (the longer the better) to exert more force onto it. You can also rotate the socket by using a car jack to exert more force. If it spins in place, use a flathead screwdriver to pry the bolt. If the bolt head is stripped, use a round-jaw vice grip plier to grip the bolt and loosen it. Carefully tap it with a hammer if the bolt is difficult to remove.
Where Is The Oil Drain Plug Located
The oil drain plug is usually on the side of the oil pan. This pan sits below your engine, and it’s usually immediately accessible from underneath your car. Since most cars have their engine at the front, the pan—and therefore the drain plug—is right behind the front bumper.
What Size Wrench For The Oil Drain Plug
There are four common oil drain plug sizes: 1/4 inch, 3/8 inch, 1/2 inch, and 3/4 inch. Find a wrench of the appropriate size to remove the drain plug in your car. Most hand tool sets will have all of these sizes included. You can find the exact size in your car’s service manual.
What Size Is The Oil Drain Plug
The most common oil drain plug sizes are 1/4 inch, 3/8 inch, 1/2 inch, and 3/4 inch. And most cars usually have a six-point (hexagon) bolt head. But it’s best to check with your service manual, so you don’t buy the wrong wrench for it.
What Size Socket For Oil Drain Plug
Most cars will have one of these three oil drain plug sizes: 1/4 inch, 3/8 inch, 1/2 inch, and 3/4 inch. So, having socket wrenches from size 7mm to 20mm will cover all of them and you should be good.
How To Loosen Oil Drain Plug
Provided that the drain plug isn’t stripped, using a breaker bar will make the job easier. The longer the breaker bar, the more torque (force) you will exert on it and the better chance you have at loosening the plug. If you have a stripped oil drain plug thread, use a socket wrench and rotate it by using a car jack underneath it. If you have a stripped bolt head, use round-jaw vice-grip pliers to grip the bolt head. And if all else fails, using a bolt extractor socket will likely solve your problem.
How To Change Oil In Lawn Mower Without Drain Plug
If your lawnmower doesn’t have a drain plug, you have two options: either use a vacuum oil plug or tip it over. The vacuum oil pump usually costs no more than $90, and you can extract the oil through the dipstick tube. But if you don’t want to spend the money, you can tilt the lawnmower over. This isn’t ideal, as it can result in hard starting and blue smoke. And there’s no guarantee that it’ll spill out of the old oil. Nevertheless, it’s an option if you don’t want to spend money.
Oil Drain Plug: Wrap Up
To summarize, the oil drain plug is a simple bolt that plugs the engine oil pan and prevents engine oil from leaking out. It’s a very simple bolt with a gasket, but overtightening it can lead to stripping. Causing problems and a great deal of inconvenience.
If you stripped the bolt head, then removing it will be difficult but you can simply replace it with a new one. Just make sure to check with your service manual so you get the right plug size. But if you have a stripped thread, then the thread on the oil drain hole may be damaged as well.
If this is the case, you will need to rethread that drain hole. If you can’t rethread it or get it wrong, you’ll need to replace the oil pan altogether, which can cost up to $750.
All the more reason why you shouldn’t overtighten your oil drain plug, and tighten it to the torque specification. This is usually no more than 25-foot pounds, and adhering to this will save you from a great amount of trouble in the future. Hopefully, this has been helpful for you and now your oil changes can go smoothly.


